Installation GuideAU-1 Expansion Joint
AU-1 Expansion Joint
Installation Guide
Comprehensive installation instructions for AU-1 Commercial Construction Sealant in expansion joint applications.
Video Tutorial
Watch the Installation Process
Follow along with our step-by-step video guide for professional AU-1 expansion joint installation.
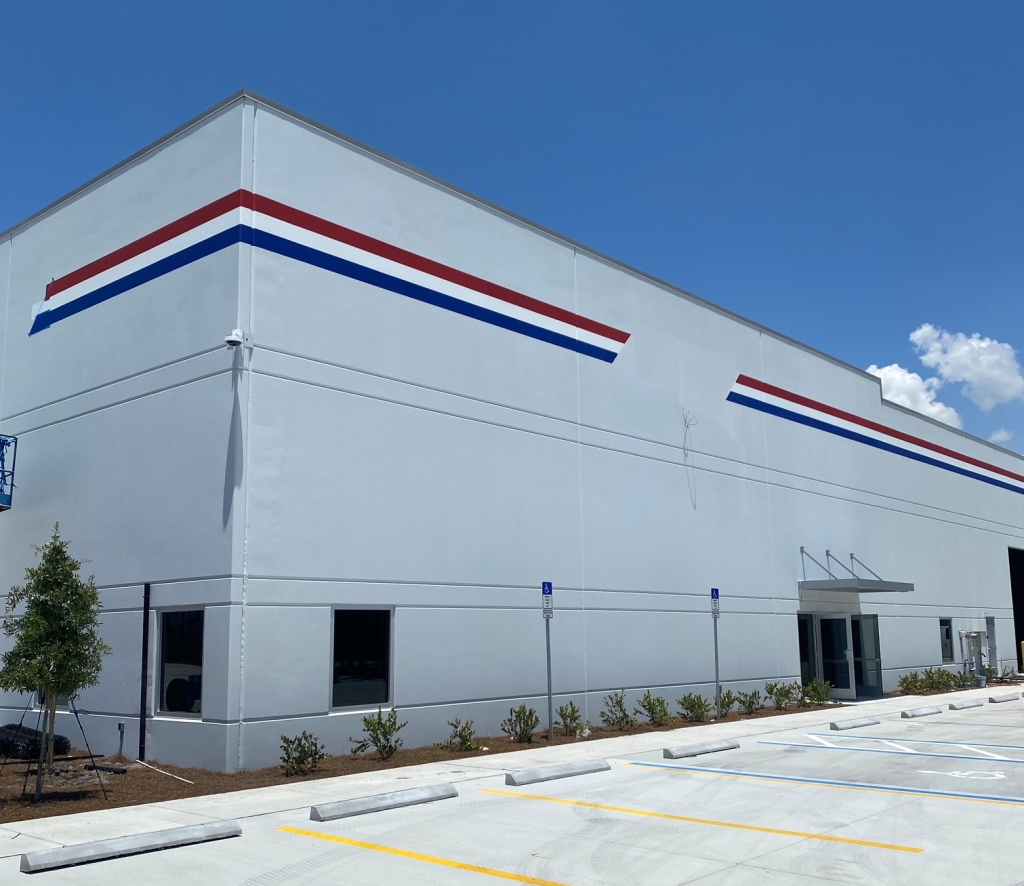
Installing expansion joints in concrete with sealant is an important part of construction work. It ensures that buildings remain weather-tight and resistant to water damage. However, using the wrong type of sealant, or not applying it correctly, can lead to costly and time-consuming problems down the line.
One of our fastest-growing products right now for exterior applications is AU-1, a one-part, low-odor, gun-grade, elastomeric construction sealant. In this guide, we'll provide an in-depth look at AU-1, including its properties, recommended applications, testing, surface preparation and installation procedures, as well as tips for ensuring optimal results.
Product Specifications
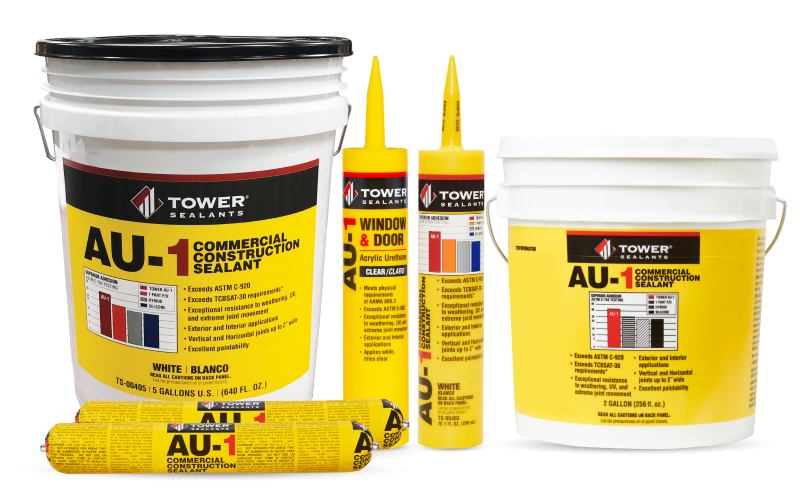
Properties of AU-1 Sealant
Follow along with our step-by-step video guide for professional AU-1 expansion joint installation.
ASTM C-920 Certified
Type S, Grade NS, Class 35 sealant
AU-1 is made from an aqueous-based urethane acrylic polymer and is one of the first high-performance sealants of its kind for the commercial building industry.
Key Benefits
- No mixing or priming required
- Paintable with no shine-through
- VOC-compliant nationwide
Performance Features
- Extremely UV resistant
- High elasticity in all climates
- No job-site solvents needed
Testing Requirements
Prior to any project, TOWER Sealants recommends testing or project mockup to be performed at the job site, under the same conditions as the planned project. TOWER will provide compatibility and adhesion testing upon request, as well as field testing assistance and guidelines. Please contact TOWER for guidance on peel adhesion testing protocol for waterproofing projects.
Critical Step
Surface Preparation
Proper surface preparation is crucial for achieving a strong and long-lasting sealant bond.
Temperature Requirements
- Above 40°F and rising
- Not exceeding 140°F
- No frozen substrates
Application Restrictions
- Not for below-grade use
- Avoid ponding areas
- No high foot traffic
Application Restrictions
No primer required for most applications including concrete and metals. Contact TOWER for difficult substrates.
Design Standards
Sealant Joint Design
Following ASTM C1193 Standard Guide ensures optimal joint performance.
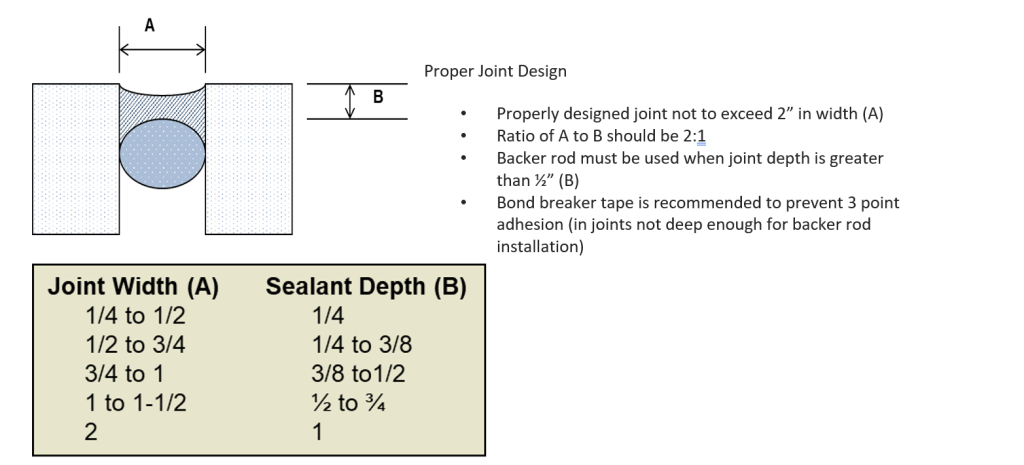
- Design Requirements
Width: Not to exceed 2″
Ratio: A to B should be 2:1
Backer Rod: When depth > ½”
- Prevent 3-Point Adhesion
Use bond breaker tape for shallow joints where backer rod installation isn't feasible.
Installation Process
Application Steps
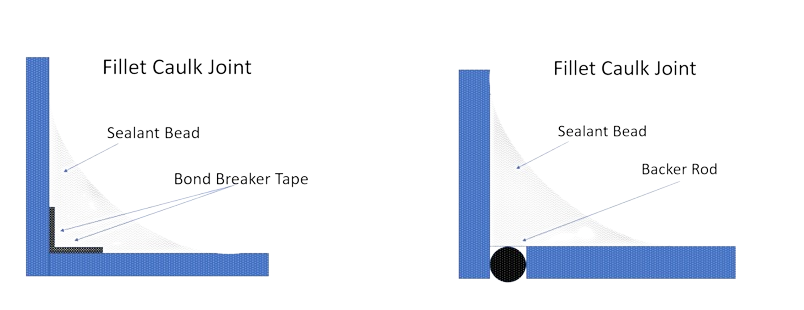
Install Backing Material
Use an open or closed-cell, circular backer rod that fits the joint walls. For shallow joints, apply bond breaker tape. If backer rod is painted, rotate it to reduce 3-point adhesion potential.
Apply AU-1 Sealant
AU-1 requires no mixing—ready to use as soon as the container is opened. Fill the entire joint with sealant, leaving no air pockets. Ensure contact with both substrates throughout the joint.

Tool Within 15 Minutes
Use a flat tool to create a flush, flat finish. This allows AU-1's evaporative cure to form an ideal hourglass-shaped joint. Clean excess sealant with water before curing. Tools clean easily with water and soap.
Tool Within 15 Minutes
At 50% relative humidity, 75°F:
- Tack-free
- Paint ready
- Full cure
Service temperature range: -40°F to 180°F
Storage
Follow these guidelines to maintain product effectiveness:
- Store in original, unopened containers
- Keep away from heat and direct sunlight
- Protect from freezing
Shelf life: 24 months when stored correctly
When designing and applying joints in construction, it's crucial to follow the ASTM C1193 Standard Guide for use of Joint Sealants and use the recommended backing material and sealant. TOWER Sealants' AU-1 Construction Sealant is easy to apply and clean up, and with proper application and curing, it will provide a durable, waterproof seal that will last the lifetime of the building.