

Repair GuidePaint Crack
Paint Crack
Repair Guide
Fix cracked paint over caulking quickly and easily with TOWER Sealants' Accelerator.
Video Tutorial
Watch the Repair Process
Follow along with our step-by-step video guide for professional paint crack repair.
Why Does Paint Crack Over Caulking?
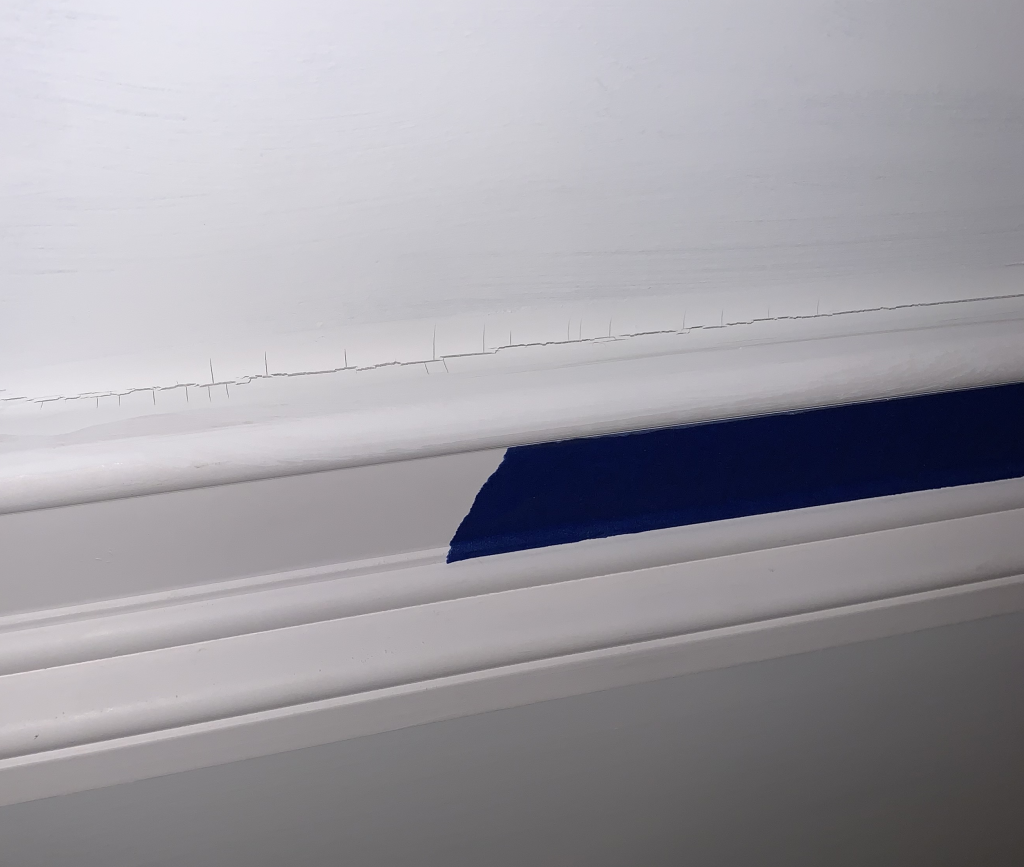
If you have ever painted over caulking, you might have come back after a few days or weeks and noticed some unsightly cracks in the areas where you painted over caulk. There are many reasons why this might happen, and there are definitely ways to prevent this.
The Solution: TOWER Accelerator
TOWER Sealants' fast-drying Accelerator caulk is an excellent solution for repairing cracked paint over caulking. Accelerator is compatible with most paints, even adding some forgiveness for harder and less flexible paints, and provides a quick and efficient way to restore the appearance and functionality of caulked areas.
Identifying the Problem
Cracked paint over caulking is a common issue that affects the appearance of your finished work.
Materials & Tools Needed
Gather these items before starting your repair project
TOWER Accelerator
Fast-drying caulk for quick repairs
Caulking Gun
For applying the caulk
Putty Knife or Scraper
For surface preparation
Fine-Grit Sandpaper
For smoothing the surface
Damp Cloth or Sponge
For cleaning the surface
Paint & Application Tools
Matching color, sprayer/brush/roller
Step-by-Step Repair Process
Follow these simple steps for a professional finish
Prepare the Surface
- Clean the AreaStart by cleaning the area around the cracked paint on the caulked surface. Use a damp cloth or sponge to remove any dirt, dust, or loose particles. Ensure the surface is completely dry before proceeding.
- Remove Damaged PaintIf necessary, use a putty knife or scraper to gently remove the cracked or loose paint from the caulked area. Be careful not to damage the underlying caulk or substrate. Smooth the area with fine-grit sandpaper to create a clean and even surface.
- Protect Adjacent Surfaces (Optional)If desired, apply painter's tape to protect adjacent surfaces, such as walls or baseboards, from accidental paint splatter.
Apply TOWER Accelerator
- Load the CaulkLoad TOWER Accelerator into a caulking gun. Cut the tip of the caulk tube at a 45-degree angle to create an appropriate-sized opening.
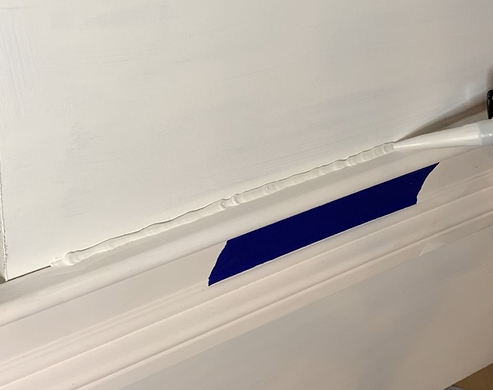
- Apply the CaulkStarting from one end of the cracked paint, slowly and evenly apply the fast dry caulk into the cracked area. Use steady pressure on the caulking gun trigger to achieve a consistent bead of caulk, making sure you are extruding enough caulk to fill in the cracks.
- Smooth the CaulkContinue applying the caulk along the entire length of the cracked paint, ensuring it fills the gaps completely. Smooth the caulk with a damp finger or a caulk-smoothing tool to create a neat finish. Remove any excess caulk immediately using a damp cloth.
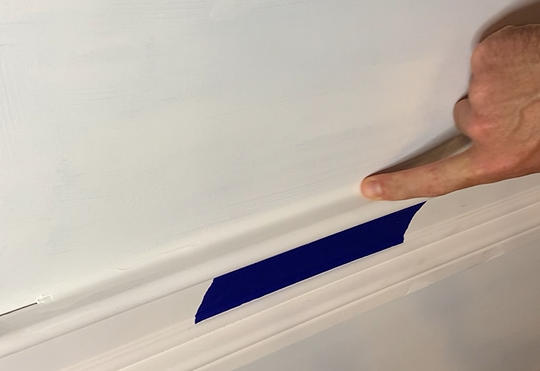
Use a damp finger to smooth the caulk and remove excess
Drying Time & Finishing
- Drying Times
- Spray Painting
- Rolling or Brushing
- Inspect & SandOnce the caulk is dry, inspect the repair area for any imperfections. If necessary, lightly sand any rough edges or excess caulk, and wipe away the dust with a damp cloth.
- Apply PaintIf the repaired area requires repainting, ensure the caulk is dry before proceeding. Apply a matching paint color using a sprayer, paintbrush or roller, following the manufacturer's instructions. Allow the paint to dry completely before removing any painter's tape.
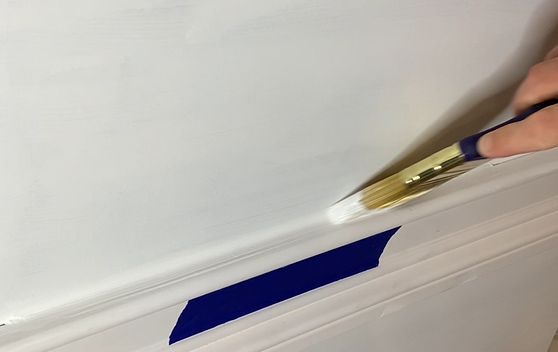
Apply paint after appropriate drying time
- Quick, Easy, and Effective
Professional Results Made Easy
Using TOWER Sealants' fast drying Accelerator to repair cracked paint on caulking is a straightforward process that can be accomplished with a few simple steps. By following this guide and the paint manufacturer's instructions, you can achieve a professional-looking finish, restoring the appearance and functionality of the caulked area.